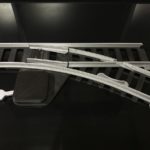
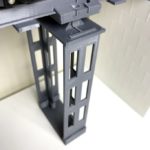
A little over a year ago, right after I bought my first 3D-printer (and the only one to date) I wanted to do something to my sons toy train system, a wooden Brio system. I started working on some drawings but were dissatisfied with the result. The track format made it very hard to create something good locking, so I decided to create something completely stand-alone. The idea was to create a fully 3D-printable system that doesn’t need any commercial train hardware, although of course motors and electronics would have to be baught.
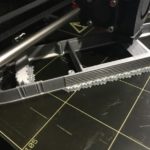
The process started with experiments with track joining ideas and selecting a suitable size. I chose O-scale, which means a track with of 32mm and a scale of 1:45. After a couple of iteration I found a system that I thought was reliable and easy enough so that my then 2 year old son would soon be able to play with it. Among the criteria was that it should be able to be bent apart with force repeatedly without breaking. To ensure this, the layers cannot be subjected to forces that tries to delaminate them.


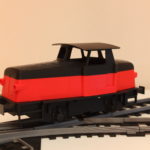
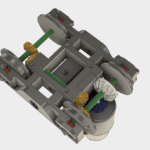
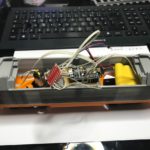
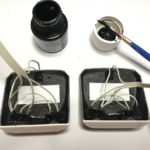
Next thing was designing rolling stock, and my first project became the locomotive I remember that I had in my Märklin H0 model train system when I was young, a locomotive called Z70. When looking at all this it might look like I’m a train geek, but that’s actually not the case. My interest is purely technical, and in this I found a multidimensional challenge that ticked all my creative boxes, mechanical design, scale, function, electronics but also involved my kids which gave the project a purpose. The first generation of the electronics used 4pcs AAA batteries and an Arduino Leonardo board and a standard RC-servo had to donate motor and controller board. This was the easiest way of getting it to run as a test, however RC-servos have quite a substantial gear reduction so the speed was very low. I soon replaced the motor with a 16mm DC-motor with planetary gearbox, which proved to both increase battery life and speed.
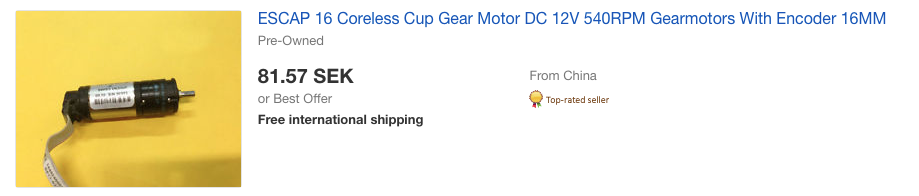
Motors like this one can be found on ebay. These are with great certainty leftovers from a scrapped industrial project, or replacements as they are many times more expensive new from factory.
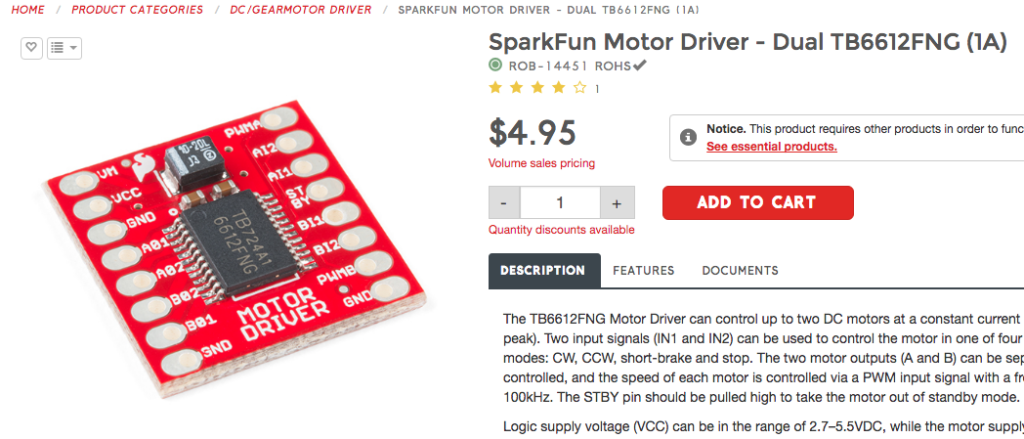
They can be used with simple PWM motor drivers like this one:
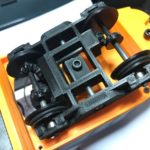
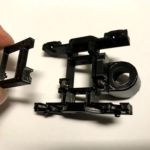
The wheels are printed in PLA, and works very well. Many times the strength need is exaggerated and PLA works fine for most applications, this is a good example of that. PLA also has an interesting feature, it is very resilient to ware. The shafts are made from carbon fiber rod which is usually abrasive, but dummy bearings printed in PLA holds remarkable well. I’ve used this as a complement to the 6x3x2,5mm ball bearings I’ve used.
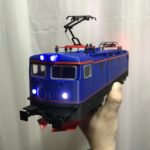

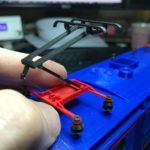
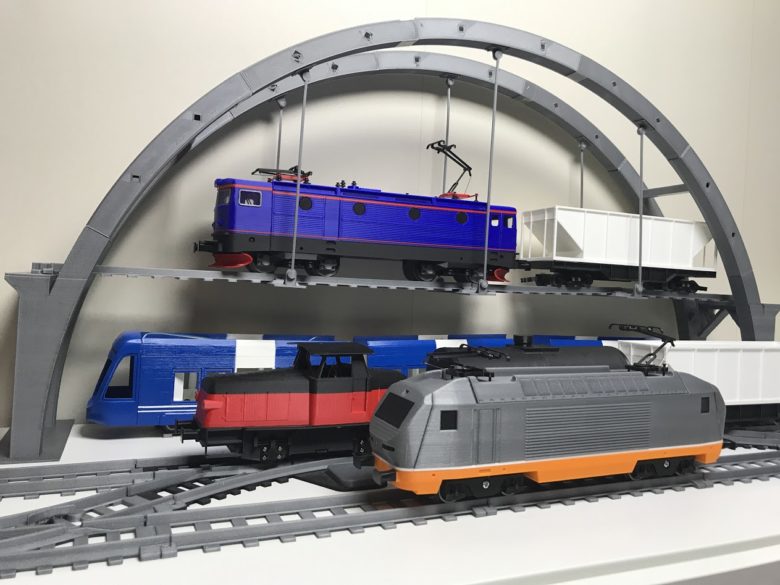
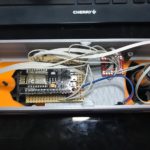
After the Z70 and a couple of freight cars (hopper, container and tanker) it was time for something a bit more advanced. First I modeled the in Sweden very common RC6 in scale. This however proved tough to get to work because I have a much narrower curvature of the track than scale which meant that the wheels very easily derails, especially in the switches. Therefor, when I embarked on the next project, a Hectorrail 141, I did not draw it to scale, but shortened it and reduced the size in order to increase functionality. This worked very well and the Hectorrail 141 can take both the narrowest curves and the switches at considerable speed. The Hectorrail 141 is controlled by a NodeMCU which is a small develpment board containing an Wifi-chip (ESP8266) and lots of memory making it possible to program an entire wifi accesspoint and webserver into the board. This enables it to be controlled with any wifi-equipped device, like a mobile phone, tablet or PC. The fact that some dedicated software developers had ported the NodeMCU for use with Arduino also greatly contributed to the ease of use. NodeMCU’s are otherwise programmed with LUA, a custom script which I’m not familiar with. With the Arduino IDE, I could write the code in the old trusty C/C++ that I’m used to since many years.
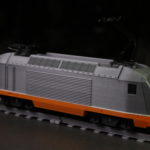

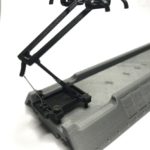

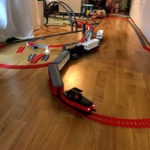
The Hectorrail locomotive in action:
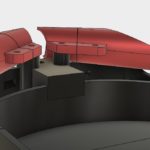
All my design work has been done in Fusion 360. At university, I learned Pro Engineer, but at the time of purchasing my 3D-printer I started looking for an alternative. I wanted a CAD suite that I could legally use free, or at a reasonable cost considering the hobby nature. I tried among others FreeCAD, but fortunately learned about Fusion360 which is now all I use, both at home and professionally at work.
I try to write instructions, but I know it’s a lot easier for the one that has designed something to understand how it’s supposed to be assembled, this is why I try to make instruction videos. But making videos is also time consuming, so it’s all a matter of priorities. This far I’ve compiled one instruction video, showing how to assemble the turnout/switch. This will hopefully be followed by more videos as I have time to create them
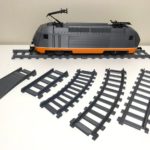
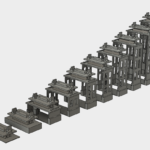
I have published all these designs on Thingiverse for free (click on this text), so that anyone with a printer and spare time can download and print all this and create a complete railway system for a reasonable cost. The track uses about 1 gram of filament for each cm, so 10 meters /kg and with PLA working fine for all parts, the cost of printing can be considered low, although time consuming of course.