I guess all of us 3D-printing enthusiasts have been in this situation many times where we search for something to print, trying to come up with ideas. Ironically it’s the pretty much the wrong way to start, it’s a bit like pulling out the hammer from your toolbox and search for something to bang it on. The chance of that ending up in a really nice project is pretty slim. The fundamental problem with working the other way around is that we are often too eager to get the printer started, so it is very hard to put enough time in to the planning.
This is why it’s so nice when one finds a project that can be accomplished using 3D-printing but where it’s just the tool to get the job done, which it is supposed to be. This is one such! My son loves emergency vehicles, especially fire engines. He’s pretty much obsessed with the animated show called “Fireman Sam”. When he got two toy fire engines and started building a garage from cardboard boxes I decided that it would be a perfect project to design and build a fire station, and the 3D-printer was the perfect tool for the job! This is the type of project it’s perfectly suited for, eliminating almost all sawing, grinding and cutting that would have been needed if it was created using traditional methods.
First step is to find some inspiration, and as most times a google picture search solves that problem:
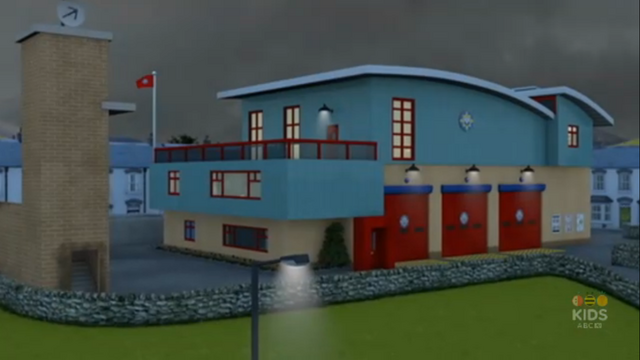 (image from firemansam.wikia.com).
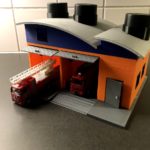
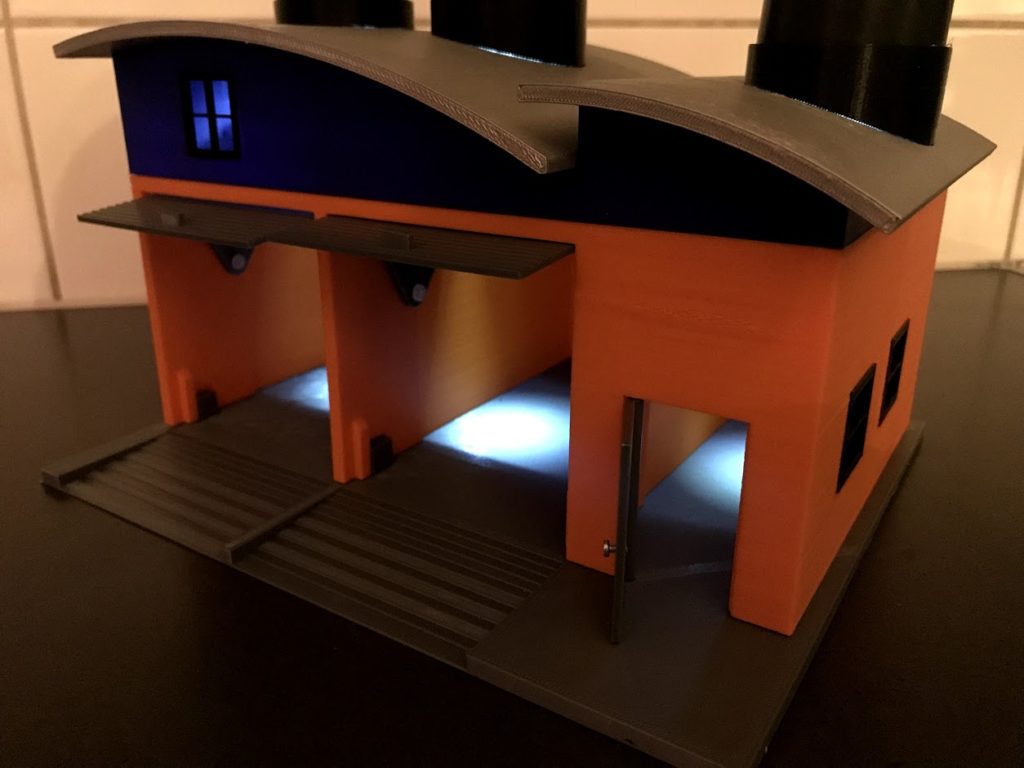
The next step is to plan the dimensions. In this case the Prusa MK2 build plate is a pretty good reference with its 20x25cm build plate. It will house two fire engines, so two garage doors are enough, but to make the build more interesting to play with, I added a small door as well.
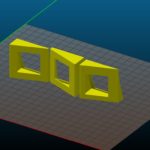
When the overall dimensions are fixed, it’s time to divide the project into suitable building blocks that can be printed. This means thinking of how the different parts of the build like floor plate, walls, roof and accessories can be designed to easily print with minimum support and the highest chance of success.

In this case I decided to divide the wall structure in two parts, even though it could have been printed in one piece, it’s often a good idea to divide very large objects into several prints to reduce individual print time, should a print fail. It also enables one to change filament/color and use different settings were needed. I usually try to avoid prints longer than 10 hours, as I never leave the printer on at home when I’m not home.
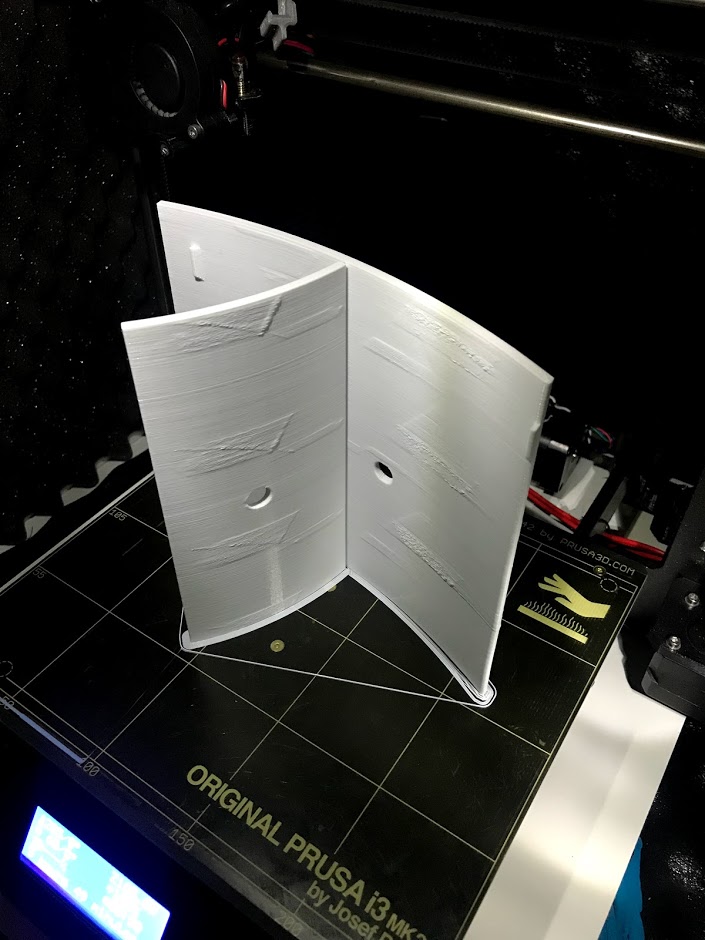
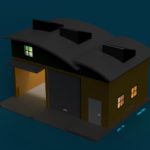
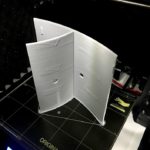
All manufacturing techniques has their quirks and 3D-printing is no difference. When using FDM as in this case, the quality is better on the vertical surfaces than horisontal ones, worst being the slightly tilted as it makes the layer “steps” most visible. One might argue that the very best surface is the one against the print bed, and that is true if the model is painted after worth, but it usually doesn’t look that good right after the print even if the surface for sure is very smooth. Because of this, I try to orient as many visible surfaces as possible to be printed vertically. The roof panels is one such part. In order to make the print more stable, I attached the two parts with a small thin wall between them, which can be broken of after print. This is an example of adaptation of the structure to enhance printing.
The patterns that can be seen on the sides of the roof in the picture above are caused by the infill, which is a material pattern inside the part. In this case I use a very low infill percentage, and the structure is clearly visible. This effect can be reduced by lowering the layer heights and increase the surface thickness, but in this case it was a tradeoff of printing time against quality. Sanding and spray painting can be used to remove marks like this.
Another consideration is trying to minimize the use of screws, as they naturally have to be bought from some where. In this design, only the hinges for the garage doors need screws, as well as the door knob on the small office door.
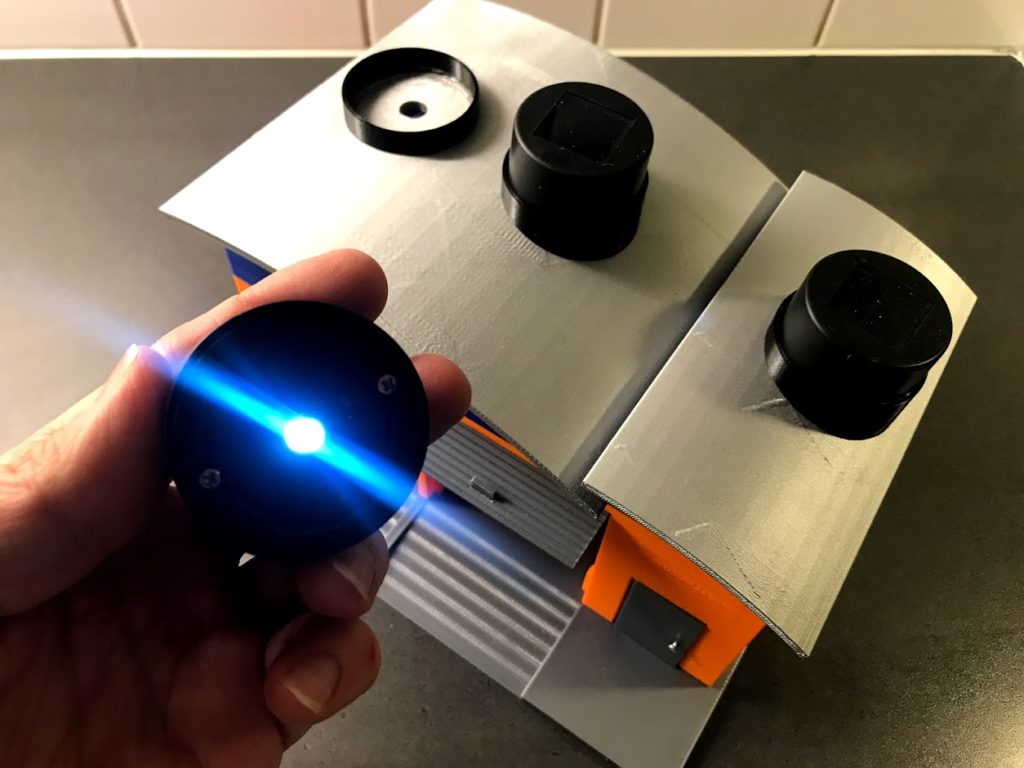
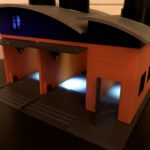
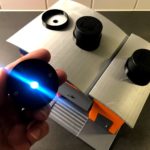
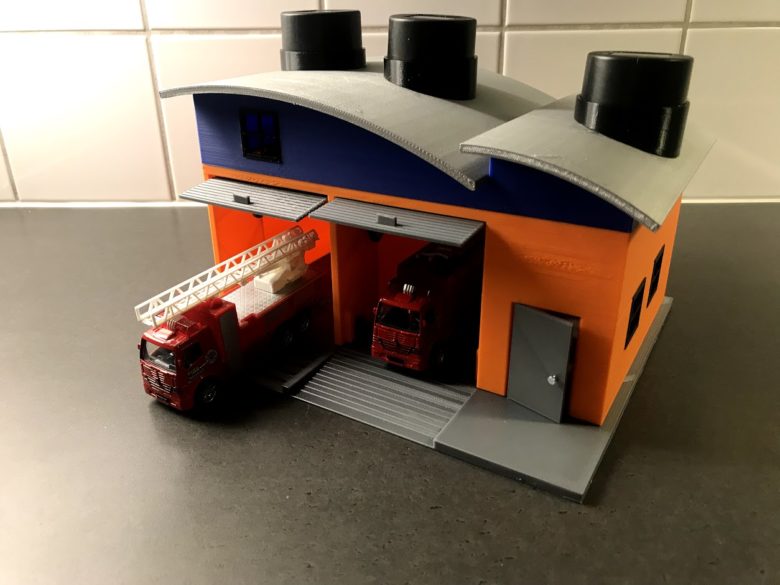
I wanted lights in the station, but wanted to avoid using batteries that have to be changed. If not equipped with a timer, the station would for sure be left with the lights on, draining the batteris quickly. This was solved by using garden LED lights form the local hardware store. There are really cheap ones that probably don’t last long outside, but for this project, they are perfect!
I disassembled them and use the top which includes a solar panel, battery, switch and LED. First I thought of disassembling them but keeping this part was so convenient so I decided to make new round roof mounts to accommodate them as-is.
The fire station was printed using the lowest quality in Slic3r Prusa edition, which is 0,35mm layer height.
This print can be done very well without any painting, however for my print, I didn’t have the right colors so the base plate and roof was printed in white and painted using hobby spray paint.
The project is available on Thingiverse for download: Fire Station Thingiverse page